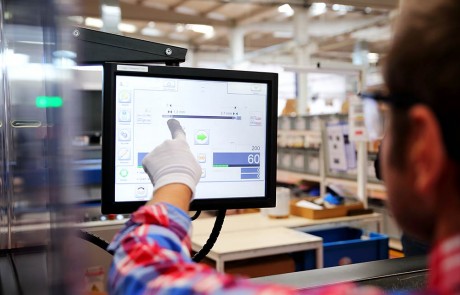
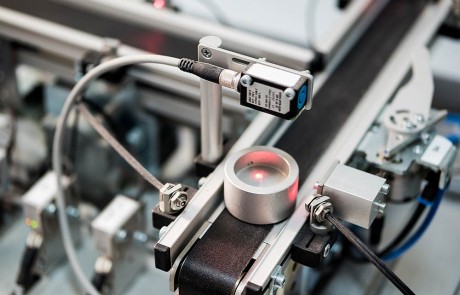
Engineers cannot manage what they cannot measure. Test equipment, including systems for in-process control and automated quality assurance, provides the measurements that managers, engineers, and operators need to optimize a specific process or piece of equipment. This process of monitoring operation, testing products, and using the resulting data to improve efficiencies is generally referred to as statistical process control (SPC). And it is statistical process control that empowers manufacturers to make better-quality products at the lowest possible price.
Test Systems for Process Industries
Edgewater Automation’s client base crosses all industrial sectors, including process and discrete manufacturing, as well as industrial services. As a result, we’ve acquired extensive test system expertise and capability for many industries, including in-process variation test systems, end-of-line (EOL) assembly verification, defect analysis and automated quality assurance systems, such as off-line coordinate measurement machines (CMM), and in-line machine vision systems. Additional industry test processes include pressure decay leak tests, flow analysis, vacuum testing, and mass spectrometry, to name few.
Pressure decay leak tests involve measuring the drop in pressure inside a part, chamber, or piece of equipment. The test begins with the injection of air into the test part until it reaches the target pressure. The air source is then turned off, and the part or container is isolated so that the loss of pressure (decay) can be measured over a given period of time. In some cases, a “golden part” is used as a baseline, and subsequent products are checked against this baseline in a process called differential pressure decay leak testing.
Flow test systems measure the transfer of liquids or gases from one location to another. Flow testing includes basic mass flow analysis for help in sizing flow diameters based on fluid and media, as well as flow leak testing based on mass flow and differential leak testing, which is similar to decay leak testing.
Vacuum testing chambers are critical to many precision industries, including semiconductors and optics. Cracks and links that can degrade vacuum can also allow contaminants into manufacturing processes, leading to lost yields and lost money. Sealed compartments in need of vacuum testing include underwater enclosures, electrical housings for outdoor environments, and the many sealed components — both electrical and mechanical — used to power manufacturing equipment and vehicles.
Mass spectrometry is widely used in industrial settings as well as laboratory settings. Mass spectrometry tests measure the mass-to-charge ratios of ions to identify and characterize materials. Electrons bombard the sample, knocking off sample molecules, which are then separated by being passed through a magnetic field. The resulting charge-to-mass spectrum provides insights into the material properties of the sample.
Electrical and Mechanical Testing
Continuity test systems provide insights into the quality and operation of electrical conductors between two points, which is critical for industrial equipment that runs on electrical power. Power monitoring tests take a deeper look at the electrical signal on a conductor to identify sags, surges, and other power supply issues that can adversely affect industrial and manufacturing equipment.
High potential (Hi Pot) testing is commonly used to verify the quality and condition of electrical insulation and overcurrent protection devices. Hi Pot tests can identify problematic switchgear and control panels, helping prevent unplanned downtime and harm to personnel or property.
Torque-to-turn testing involves the angular force required to turn an object. Torque testing involves measuring the amount of torque being applied to an object. Two of the more common applications for torque testing are fastening (screws, bolts, and the like) and rotating equipment (such as motors, engines, or transmissions). By measuring and analyzing the torque characteristics in such applications, it is possible to accurately determine not only the quality of the part or process but also the root cause of a wide variety of defects.
Quality Assurance
Gage repeatability and reproducibility (GR&R) testing involves the accuracy of measurement systems and their ability to repeatably and reliably makes measurements. With a GR&R system, measurement variation is characterized by either stability, bias, linearity (such as location), or width or spread, which refer to repeatability and reproducibility. GR&R is widely used in manufacturing to qualify new measuring equipment, compare equipment before and after repair, and calculate process variation.
Design failure mode effects analysis (DFMEA) and process failure mode effects analysis (PFMEA) are used to analyze potential failure modes within a system in operations management and product development. These analyses also classify the failures according to likelihood or severity. The term “failure mode” refers to any defects or errors in a design, process, or item that affect the customer. “Effects analysis” refers to the study of the consequences of the failures. FMEA is used widely in the service and manufacturing industries. These analyses identify potential failure modes and help the team prioritize countermeasures, thereby helping reduce failures. They also help a company cut costs and reduce development time.

